Welcome to the world of easy kitchen updates! Your kitchen backsplash has the power to elevate the entire look and feel of your culinary space. If you’re yearning for a fresh and stylish kitchen without the hassle of a major renovation, you’re in luck. In this blog post, we’ll guide you through three simple steps to transform your backsplash with ease. Get ready to discover affordable ideas and easy techniques that will breathe new life into your kitchen and leave you with a stunning focal point that reflects your personal style.
Step 1: Choose a Style and Material
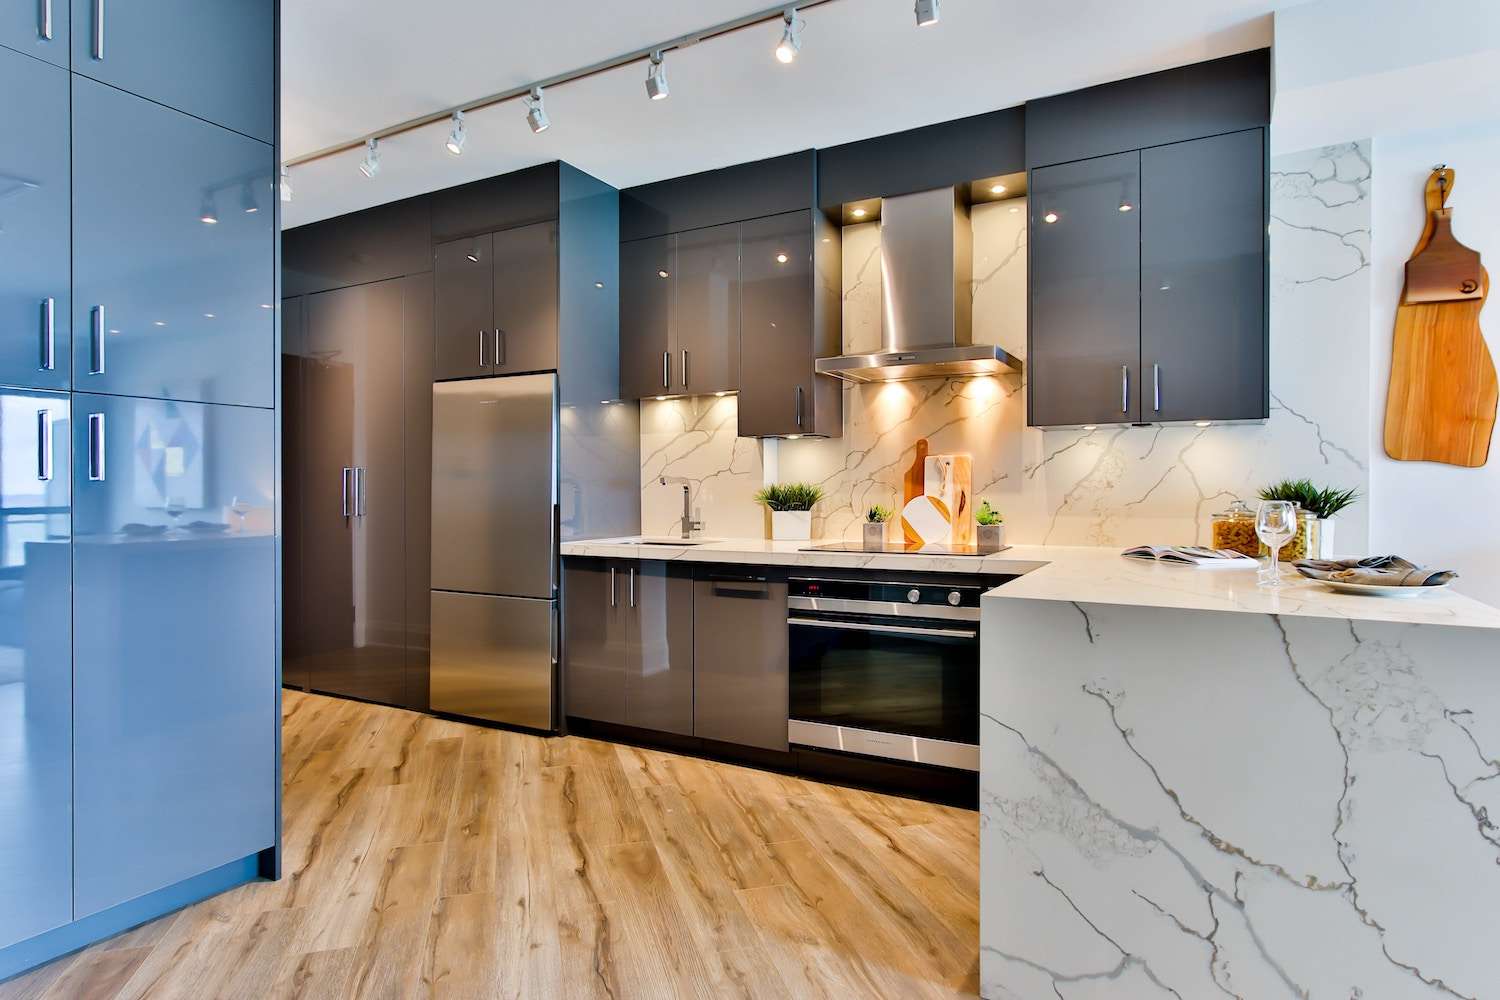
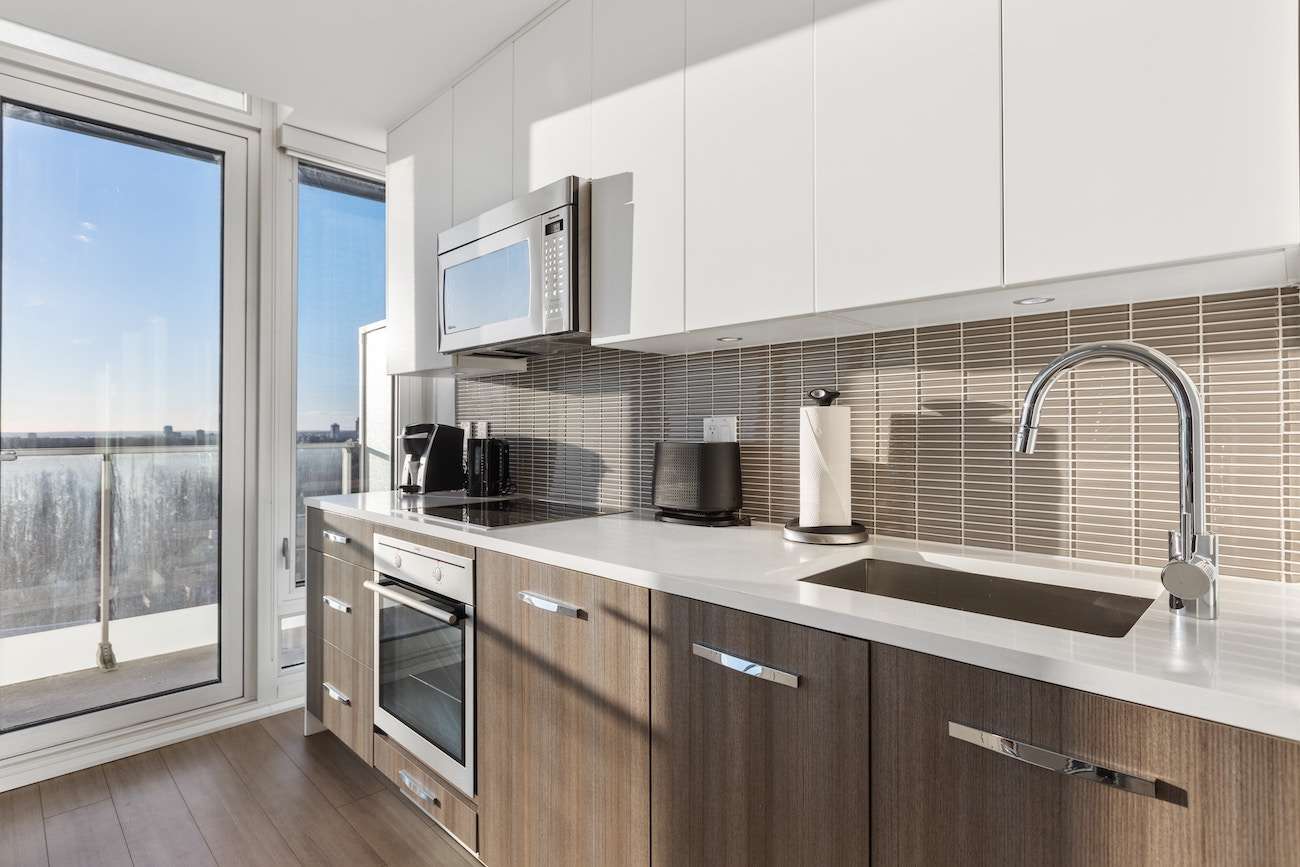
When it comes to updating your backsplash, the first step is selecting a style and material that suits your taste and complements your kitchen’s overall design. Consider the existing color scheme and aesthetic of your kitchen. Are you looking for a sleek and modern backsplash, a rustic and natural look, or perhaps a bold and vibrant statement? Explore different options such as peel-and-stick tiles, removable wallpaper, or even paint. Let your creativity guide you as you choose colors, patterns, and textures that will make your kitchen shine.
Step 2: Prepare the Surface
Proper preparation is key to ensure a successful backsplash update. Before installing your new backsplash, it’s important to clean the surface thoroughly. Remove any grease, dirt, or residue to ensure optimal adherence. If necessary, apply a primer to create a smooth base. Measure the area carefully and mark the boundaries of your backsplash, ensuring precise installation. Taking the time to prepare the surface will guarantee a flawless and long-lasting result.
Step 3: Installation and Finishing Touches
Now it’s time to bring your chosen backsplash to life! Follow the manufacturer’s instructions for installing your selected material. Whether you’re working with peel-and-stick tiles, removable wallpaper, or painting the backsplash, make sure to follow the recommended techniques for optimal results. Take your time to align the tiles or wallpaper, ensuring a seamless and professional appearance. Once the installation is complete, consider adding finishing touches such as grouting or caulking to enhance the overall look and provide a polished finish.
Congratulations on completing the three simple steps to transform your kitchen backsplash! By choosing a style and material, preparing the surface, and installing your new backsplash, you’ve given your kitchen a fresh and stylish update. Remember, the backsplash is not just a functional element but also a statement piece that reflects your personal style and enhances the overall aesthetics of your kitchen. If you have any questions or need assistance with your backsplash update project, don’t hesitate to reach out to our team. Contact us today and let our experts provide guidance and support to bring your vision to life.


